One of the best parts of traveling is being able to venture out on your own and learn more about the local area. If sitting on a hot and cramped tour bus with 36 other tourists is not your idea of a rewarding travel experience, you’re not alone. Now, more than ever, travelers are looking to find rich travel experiences.
Imagine being able to offer visitors from around the world the opportunity to go on their own self-guided tours 24 hours a day. Rather than having to hire an expensive tour guide, lug around a library of travel guides, maps and brochures, or sit in that cramped tour bus, you have offered them a cheaper, richer, and more convenient alternative.
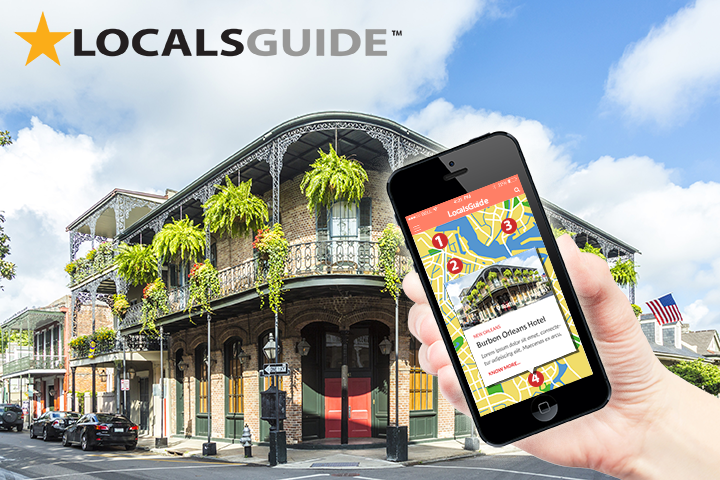
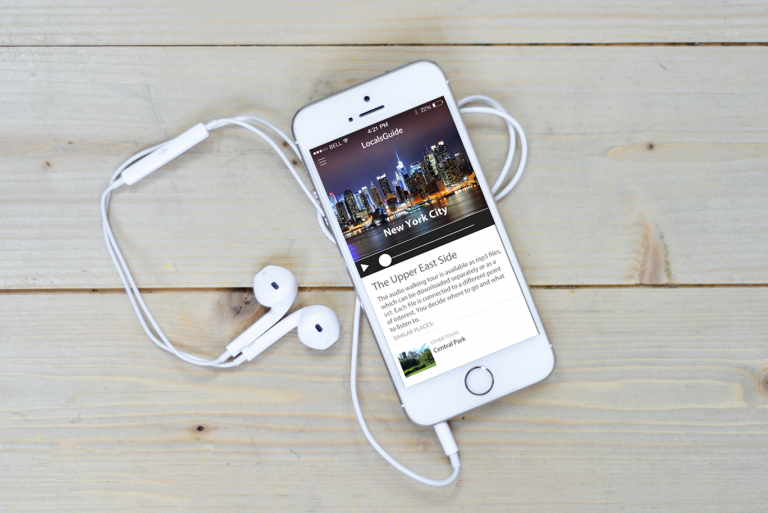
Yes, I am talking about creating your own audio guide app. Available in Android, iOS and HTML5 visitors, users can download your app anytime day or night from around the world. You can offer audio tours for free or charge a fee for them.
Once visitors download your audio tour app, they will love the freedom and flexibility it can offer them. Your app will help take them behind the scenes, and get them up close and personal with interesting local facts and history. No more pricey tours, early morning rendezvous, or traveling around with a pack of tourists.
Be your own guide and explore the things that are most exciting and interesting to you… when and how you want!
In today’s blog, we will explore the creation of audio guide apps, including why and how to make them. With the proper platform, research and planning, you can easily launch your own audio tour app that can be enjoyed for years to come.
Why Make an Audio Guide App?
Convenience
With smartphones now the norm, they have become the means by which we navigate more and more of the world. Mobile guide apps are far more convenient than traditional print guides or audio guides, and will replace them over the coming years. Rather than rent a portable audio device from a museum and listen to a limited selection of recordings, every visitor can have a dynamically-updated app on their own phone, to use at their own convenience, making it easier for both users and guide creators.
Fun
Are you passionate and knowledgeable about your local landmarks and community? Do you have a unique perspective or depth of knowledge you’d like to share with others? Share that perspective with the world through the creation of audio guide apps – and have fun while doing it! Get your friends and local community involved and create something that represents you, while keeping it fun and interesting.
History
Your community has rich and unique history – capture this information and then share it with visitors from around the world! You can tell stories that haven’t been heard with your audio guide, conduct mini interviews, review interesting local or niche histories that have been ignored by traditional guides. Your efforts will be appreciated by generations to come.
Long-term Recurring Revenue
By putting in the work upfront to create your audio guide, you can create value and bring in recurring revenue over the long term! You can monetize your app in whatever way makes sense for your community, such as offering additional in-app purchases, banners, or creation of a niche tour which is then sold to an institution or city government.
How to Make an Audio Guide App

Step 1 – Choose Your Subject
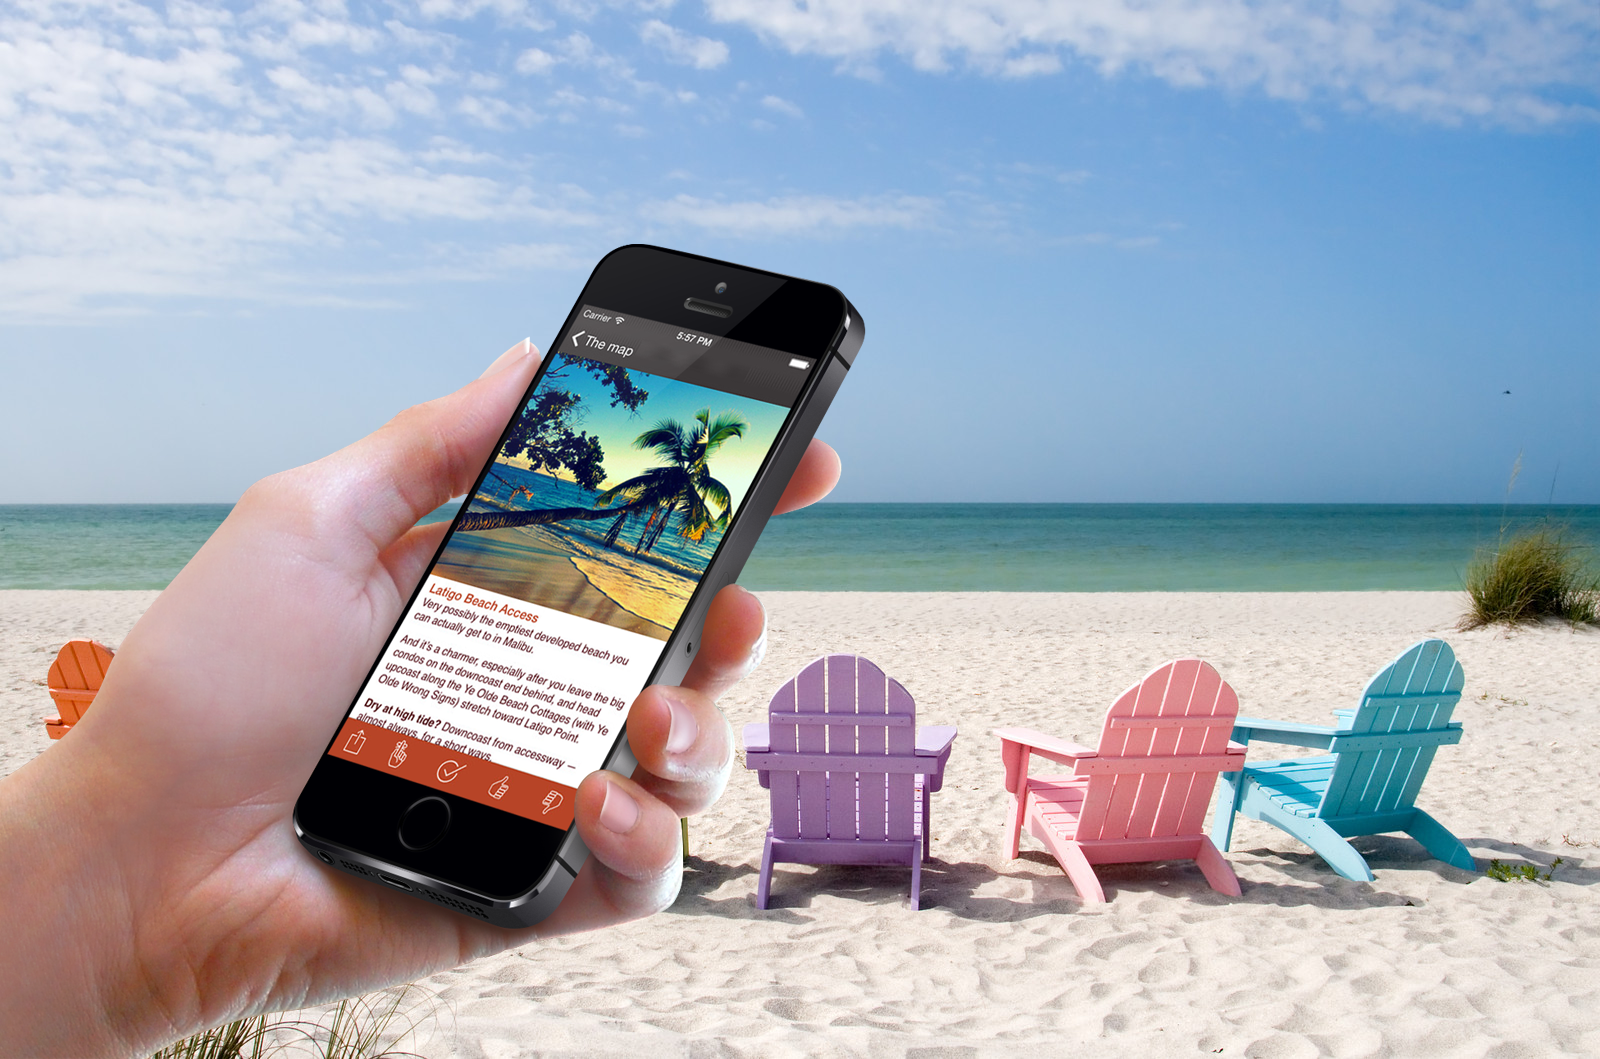
First, pick the topic of your audio tour. Will you do a museum, art gallery, or historic monument, a beach, park, or other nature destination, or a walk through a number of points of interest? Will you create a stationary audio tour, a tour which a user can listen to anytime anywhere, or will you create a walking / traveling audio tour? If you are planning on doing a traveling tour, check out our upcoming post on walking guide apps. These tours require different considerations in specific that walking tours are more focused on the type of experience a user will have within a specific journey while stationary audio guide tours are more focused on the depth and value of content that can be shared. What ever type of audio tour you decide to create, consider the conditions a user will be using your app and plan accordingly.

Step 2 – Gather Tour Information
Next, do any required research and gather your supplies to begin mapping out your audio content. While content for many audio tours can simply be found online, other types of tours will require traveling to the designated tour location. Before you visit this location, bring a notebook and pen (or digital equivalent) and a camera. When you arrive at the site, take notes and pay special attention to any details, large or small. Remember to be as specific as possible in your instructions, tips, and insights. You want to be as thorough as possible. Your users will thank you with great online reviews and by sharing your app with fellow visitors. Make sure to bring your phone and check your cell signal. Sometimes in dense urban environments or inside large building you can encounter a weak or non-existent cell phone signal. If your tour goes through a shadow, you will either need to have offline capacity enabled or for your entire tour to be downloaded ahead of time.
The key is to thoroughly think through the user experience. There is nothing worse than taking a tour that was written or created by someone who never even took it themselves. Make sure you know the area that your tour will take users through, and then take the time to actually do take the tour yourself. Don’t presume that just because you frequent a tour location you can do it all from memory. If you are creating an audio tour that has people following maps and directions verify that your walking the right direction. Double check landmarks and milestones. A door might have been repainted, business name changed, house constructed or sign removed.
Step 3 – Create Your Tour Introduction
So you’ve done the field work and you have an encyclopedia of notes. It’s time to organize your data and write out your audio tour introduction. Your introduction needs to will give a brief overview of what the tour will cover and then will review any important details such as where the audio tour will begin, where it will end, and how long it will take.
Once you have done this return to collection of tour information and begin to break your content up into individual chunks. If you are doing a museum tour, you may want to do a recording for each painting, then group those files onto a page for each room or wing of the building. If you want your users to follow a certain path, you need to map out the path step-by-step. If it is free form and they can listen in any order, organize your information in an intuitive and ordered way.
Step 4 – Make It Interesting and Fun For All Audiences
Now it’s time to talk about the types of information that you will want to include in your audio tour. Regardless of who your audience is your audio guide tour should be interesting, fun and informative. If your creating an audio guide for kids think consider what their point of view would be on the topic just as much as if you were creating an audio tour for a gallery connoisseur. Make sure to tap into your personal experience as well as the experience of the community and colleagues while creating your walking tour. Include historical facts and personal stories about the area. Answer questions such as “When, where and how but also take the next step and include additional opinions, tips or interesting trivia. Because your audio tour will be in the form of a mobile app, you can also build in all sorts of interactivity, from bird sounds, to videos, urls, and phone numbers. You might even want to consider adding in a tour survey form at the end. Providing additional resources for your app users to learn more about their tour experience is a great idea.
Step 5 – Tour Organization & Flow
Now that you working on the writing of you tour it’s time to consider your tour flow and organization. You can do this by writing out short little paragraphs that describe each point of interest. Then weave these paragraphs together with transitional statements that help to move your app user from one location to the next. Remember to include interesting details, facts and technical data along with the app. Many app users will enjoy reading as well as listening to what you have to share. The main goal in completing your script is to create a linear outline with short blocks of information for each destination. Here is an sample outline you can work with.
• Tour Name
• Tour Details
• Tour Overview• Tour Introduction
• Stop 1
• Stop 2
• Stop 3
• Stop 4
• Stop 5
• Tour End
• Survey Request
Step 6 – Incorporate Multi Media into your Audio Guide App
As we mentioned above consider going above and beyond to take a multi media approach to tag along with your audio tour. You can only image that in the future video, interactive surveys, and learning apps will become the norm. If this sounds like to much effort just start with photos. Photos are everything! Walk through your location and take clear, high-resolution photos. Document closeups and unique seasonal and interesting characteristics. A photo can help users figure out where they are or where to look to learn about a particular detail, such as a hand-carved door, a historic marker or plaque. We encourage you to take the photos yourself, or if you don’t feel comfortable, ask someone else to capture them for you. Great local photos are an essential part of creating a beautiful app.
Step 7 – Share Your Tour With A Friend
Once you have completed your final audio tour outline. All research is done, content written it’s time to read it to a friend. Ask them for advice and feedback on timing, tour flow, interest, curiosity. Also asked them if they learned anything new. Get all the feedback and advice you can to reach a final smooth and concise audio tour script. If you did your homework well then your audio tour should flow smoothly, while delivering great content in a timely manner. If you have achieved the following result then you are ready to record a final cut.
Step 8 – Record It
It’s now time to record your script and you have several choices to make. One of the first and most important choices is who will be the voice of our audio guide. Will you hire a professional or voice the tour yourself. Next you will need to decide if you will read from a strict script or go with a more unscripted casual read. A casual reading style will allow the narrator to take a more natural approach in delivery of content. Often times going with a more casual style and injecting personality can keep things enjoyable and will help your audience to connect with you. What ever you choose always remember that the main goal is to provide a clear and easy-to-hear presentation. When recording, remember to speak clearly and utilize proper recording technologies. As a final creative result, you want to have an individual mp3 file for each stop along your tour.
Step 9 – Publish It
You’ve reached the finish line of creating your own audio guide tour and it’s now time to publish it in app format? With so many options to choose, where should you start? We’ve gone ahead and listed a few of our favorite app companies below and also encourage you to try out our own audio guide app with LocalsGuide.com.
- LocalsGuide
- iZi Travel.com
- TourAppBuilder.com
- MyToursApp.com
- iAudioGuide.com
- FluxGuide.com
- Woices.com
- AudioTrails.co.uk
- VoiceMap
—