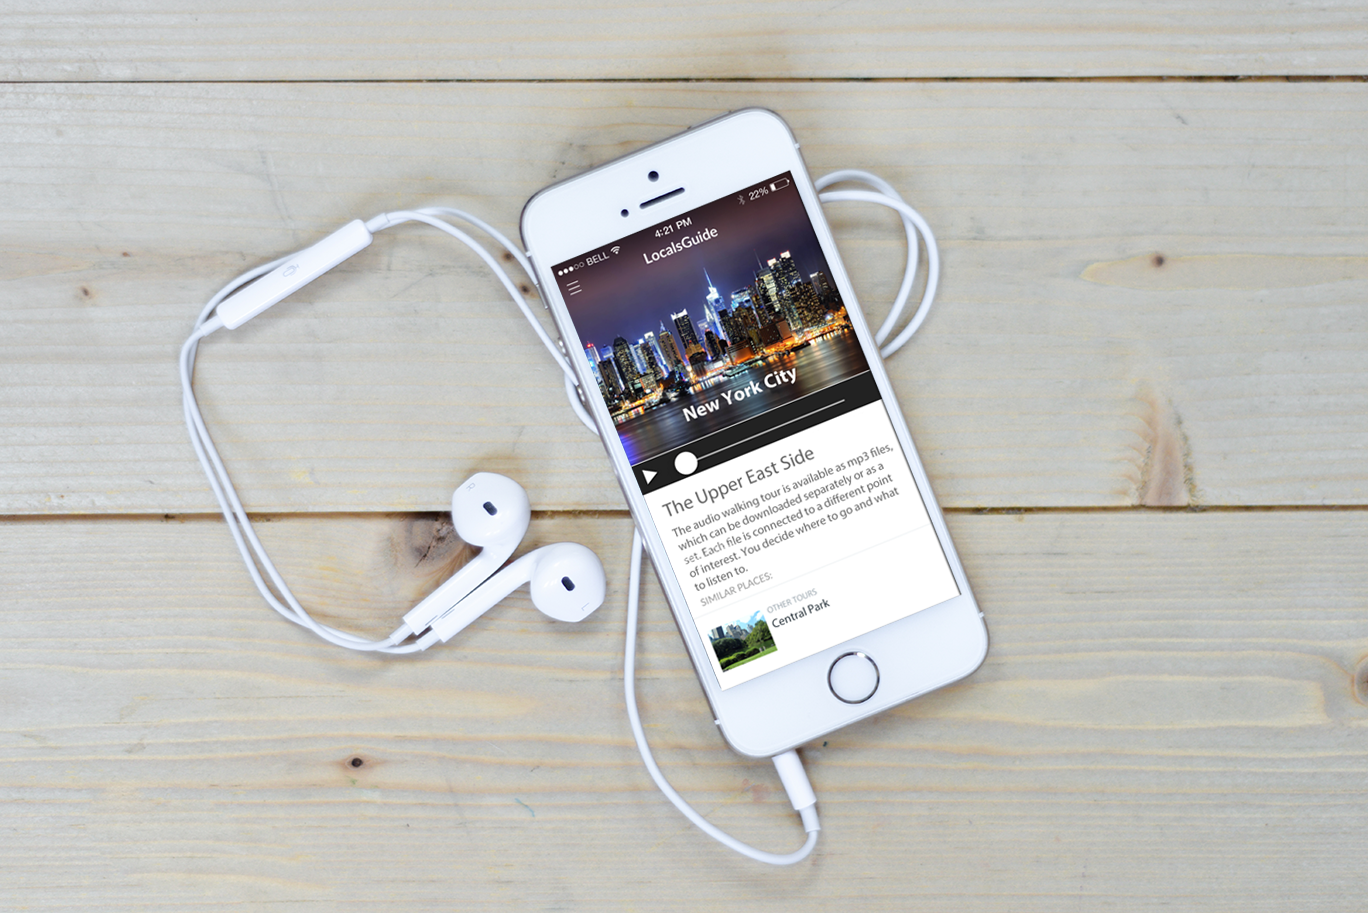
Traveling is fun because you can explore new places on walking tours. In the past, you had to join a group, hire an expensive guide, or carry guidebooks and maps. But now, self-guided tour apps like Field Trip, Cities Talking, and DETOUR offer great tours with features like maps, audio guides, and local tips.
However, these apps are getting so popular that they might lose their charm by becoming too mainstream. To avoid this, they need local updates and maintenance, which big global guide services struggle with.
So, why not make your own tour app? You can update it anytime, share it with others, and even charge a small fee. But be careful, you might end up starting your own tour business!
Creating tours is exciting and addictive. But remember, it’s not about making lots of tours, it’s about making quality ones that give users a close-up view of the local area. You can achieve this with your own walking tour app.
So.. Where should you begin when creating a Walking Tour App?
Step 1 – Choose Your Subject
 The first step is to pick the topic of your walking tour. It is important to remember that while an audio guide’s primary focus is on the depth and delivery of rich content, walking tours are all about the physical journey and emotional experience you can take users on.
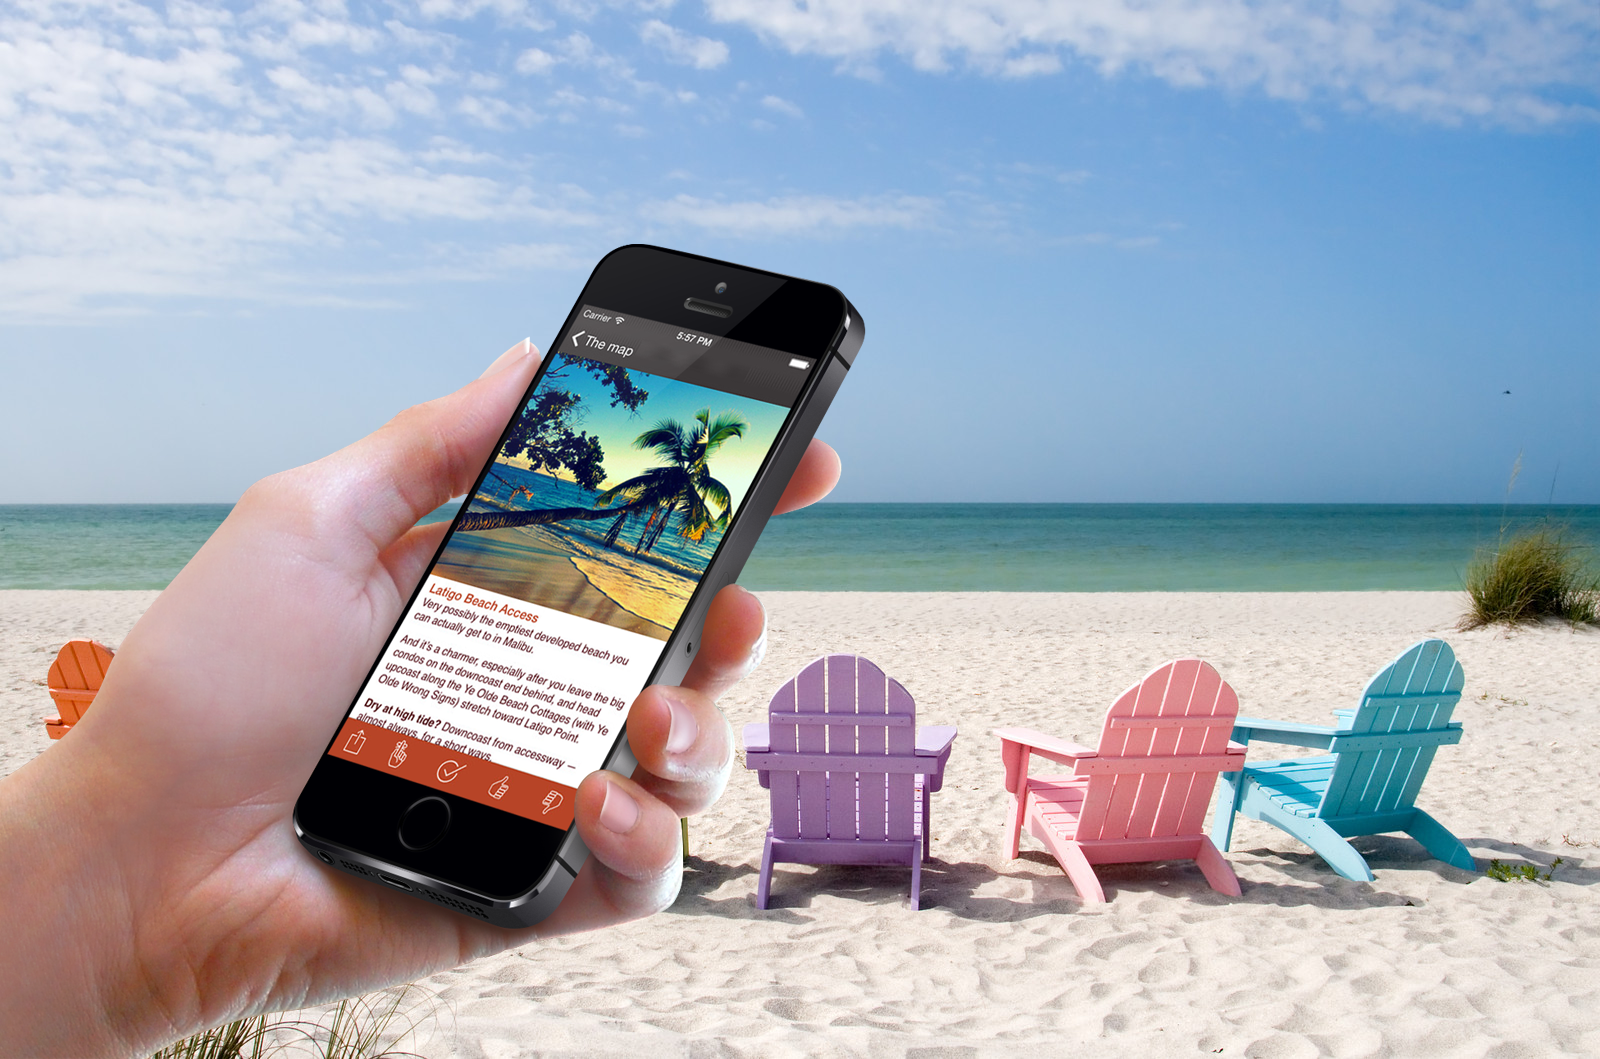
Do you want to show off historical buildings, take users on a stroll through the local park, on a walk down the beach, or on a pub crawl? When choosing your topic, it is critical to think about the hopes, dreams and expectations of your tour participants. Will users walk through a beautiful forest, along a flowing stream, explore ancient ruins, or explore back alleys filled with merchants? While some travelers are looking for adventure, others are simply looking for intimacy and a connection to the “local.” Examine and reflect upon how participants will feel after taking your tour. Will their lives be enriched? If you have a favorite local tour that you are passionate about, chances are others will like it too. Once you’ve chosen your topic, define it clearly.
Step 2 – Be Smart and Map It
Now that you have a plan for the topic of your walking tour, it’s time to map it out. First things first, get a map and chart the path. Look at the distance. Look at streets and plan accordingly. What’s up, what’s down, what’s hot, cold, windy or wet? What’s safe and what’s unsafe? How long will it take? Map it all out and highlight multiple routes. Is there a short route and a scenic route? What about shortcuts? Is your walk too long? Typical walking tours can range between 30 to 120 mins and cover a distance on average of between 1-3 miles (1-5 kilometers). Anything more will be too much. If you want to create a longer tour, you can create a day trip tour app for cars or cyclists. Last but not least, consider the age group and interest level for your tours. Three miles of museums won’t work for most, while a 3 to 4 block city stroll along the river may have a much broader appeal. Finally, determine if your tour qualifies as family- and child-friendly. Is your tour suited for people with disabilities? If you want to go one step further, many people now often travel with pets – consider how they will be affected. Be smart. Map it out.
Step 3 – Gather Walking Tour Information
 Now that you have chosen a topic and mapped out the general path, it’s time to gather information and begin your research. When creating an audio tour, you can collect much of your content online. However, a walking tour requires you to get out into the field, and this where the hidden treasures await! Your job as a walking tour guide is to be able to articulate and point out these local treasures to others.
Pack a notebook, pen, and camera. When you arrive at the beginning of your tour, take detailed notes. Be sure to include important topographic details like having to climb a hill or go down a steep road. Point out specific landmarks and milestones, fences, doors, windows, signs, and street crossings. You want to be as thorough as possible; don’t surprise your users with a treacherous river crossing. The more detailed you are, the happier your users will be and the more smoothly the tour will go. Also, check your phone while taking your tour to make sure that there is cell phone reception. If you find that there are points when reception is nonexistent, you will either need to have offline capacity-enabled or have your entire tour be downloaded beforehand. Sometimes there can be cell phone shadows in deep inner cities where large buildings have blocked out a mobile signal.
You can’t be too thorough while creating your walking guide, because there is nothing worse than taking a tour that was created by someone who hadn’t even taken the tour themselves. Be as specific as possible, and don’t assume that just because you’re a local you know the area by memory. When you go out on your information gathering assignment, you will discover all sorts of new and interesting sights.
Step 4 – Create Your Tour Introduction
 Once you’ve collected your notes, it’s time to write your tour introduction. This intro needs to give a brief overview of what the tour will cover as well as share any important details such as where the walking tour will begin, where it will end, and how long it will be. Tell users what to bring as well. With a walking tour, offer recommendations such as what types of shoes people should wear and outdoor gear they should bring (i.e. hat, sunglasses, jacket etc.). Next, describe the terrain. Will it be flat and easy or a strenuous hike? You should also include if the walk is accessible for those who have disabilities, and if it is family- or pet-friendly. Finally, speak to the dream of the customer and set an expectation for the hopes of what they can experience when going on your walking tour. Here’s a great example of a walking tour introduction:
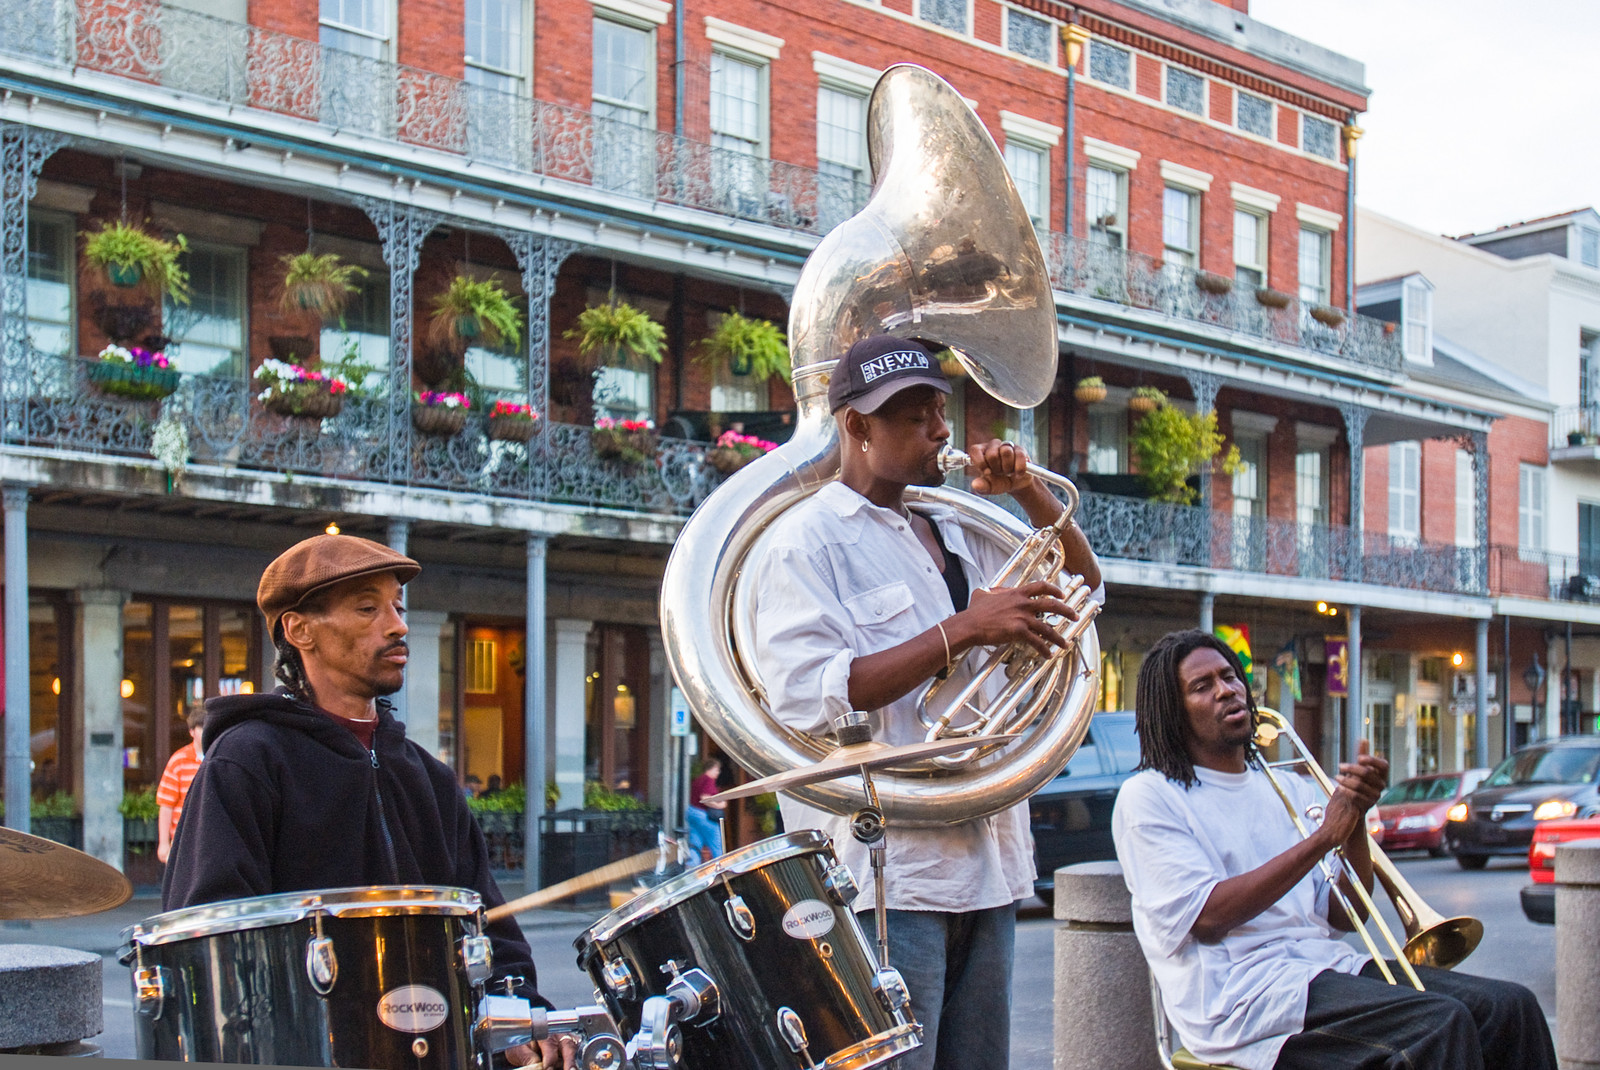
New Orleans Food Walking Tour of the French Quarter
Visitors of all ages will enjoy eating their way through the French Quarter on this food‐filled 3‐hour walking tour! The Locals Guide to New Orleans will take you on a culinary journey to famous markets, cafés, bakeries and food carts across the French Quarter. Your stroll will take you along the Mississippi River where you will taste sugar‐dusted beignets, a stuffed muffuletta sandwich, gin‐infused chocolate and our favorite chargrilled oysters. Along your 3-hour walking tour you will learn about New Orleans’ rich and complex culinary history. This is a walking tour not to be missed! Tour distance is .63 mile. Casual clothing and comfortable walking shoes suggested.
Step 5 – Make It Interesting and Fun For All Audiences
Now it’s time to think about the types information you want to include in your walking tour. No matter who your audience is, you want to make your tour fun, interesting, and informative. Make sure you use your personal experience, as well as the experience of your friends and neighbors while creating your tour. Remember, walking tours don’t just need to be all about walking, you can include additional activities, like eating, drinking and sightseeing. Engage the user with rich local experiences and opportunities. Include personal stories and fun facts about the area. It’s also a great idea to include multimedia resources so that users can learn even more about the area in their mobile tour experience.
Step 6 – Plan Your Tour Organization and Flow
Now you can begin to write out your tour with all the information you’ve collected. Write roughly a paragraph for each step, with transitional statements that will help the tour flow easily. Be sure to include interesting details and facts along with anything you think is necessary. The goal of writing these paragraphs is to make an outline that has short chunks of information for each step. Remember to be specific by including concrete examples and instructions
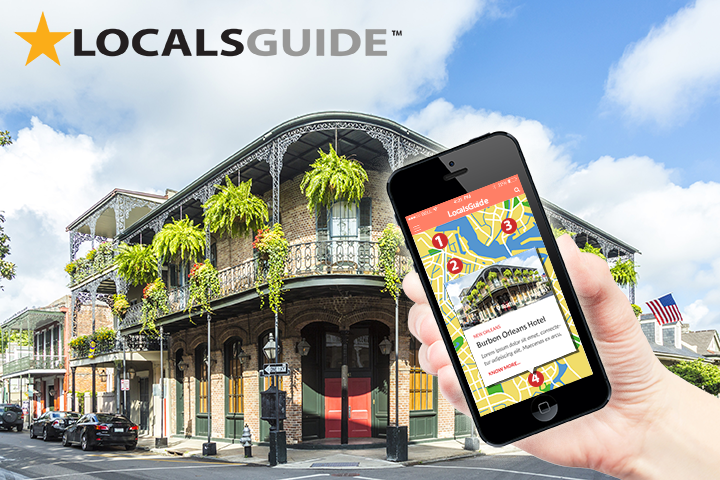
For example: “When approaching Bourbon and Orleans, make sure not to miss the historic Bourbon Orleans Hotel. The hotel will be on your right as you approach the main intersection.”
Below is a simple tour template you can use to create your own walking tour:
Tour Name
Tour Details
Tour Overview
Tour Introduction
Stop 1
Stop 2
Stop 3
Stop 4
Stop 5
Tour Summary
Step 7 – Document Your Walking Tour
Although users will be able to see things themselves in person, photos still play an important role when it comes to building your walking tour app. A photo can help your users know what landmark to look for, as well as which direction to move. Take clear photos while you’re out in the field. Provide simple yet accurate descriptions. Including closeups or multiple angle shots can be useful in helping to point out special features that otherwise go unnoticed. Great tours go above and beyond to share those unique and interesting details that often go unnoticed. Your photos should do the same. Last but not least, get special permission by a local museum or institution to get closeup and bonus photos. Below is a sample showing closeup photos of a gargoyle at the Notre Dame Cathedral. From the ground, the gargoyles are very small but with the help of your tour app photos, visitors were able to get just a little bit closer.
Step 8 – Test Out Your Tour on Friends
Once your walking tour is finished, ask a friend to take the tour. Does it flow easily? Does it make sense? Did your friend learn something new? If they answered “yes” to all those questions, then your app is ready! Take the walk a few more times before launching your app to make sure everything is in place.
Step 9 – Publish Your Tour
When it’s time to publish your walking tour app, you will have several online options. Here at LocalsGuide.com, we offer an online hosted app solution that can help with the creation, management, and monetization of all your walking tour needs. You will have full control to be able to design, create and publish your own guide apps, along with possibly even building your very own walking tour app business.
Please let us know if you have enjoyed our blog by posting any comments below.
If you are interested in learning more about the LocalsGuide PRO – Location Aware App, click the button below to take the next step.
Learn More:
https://www.checkfront.com/blog/create-your-own-walking-tour/